


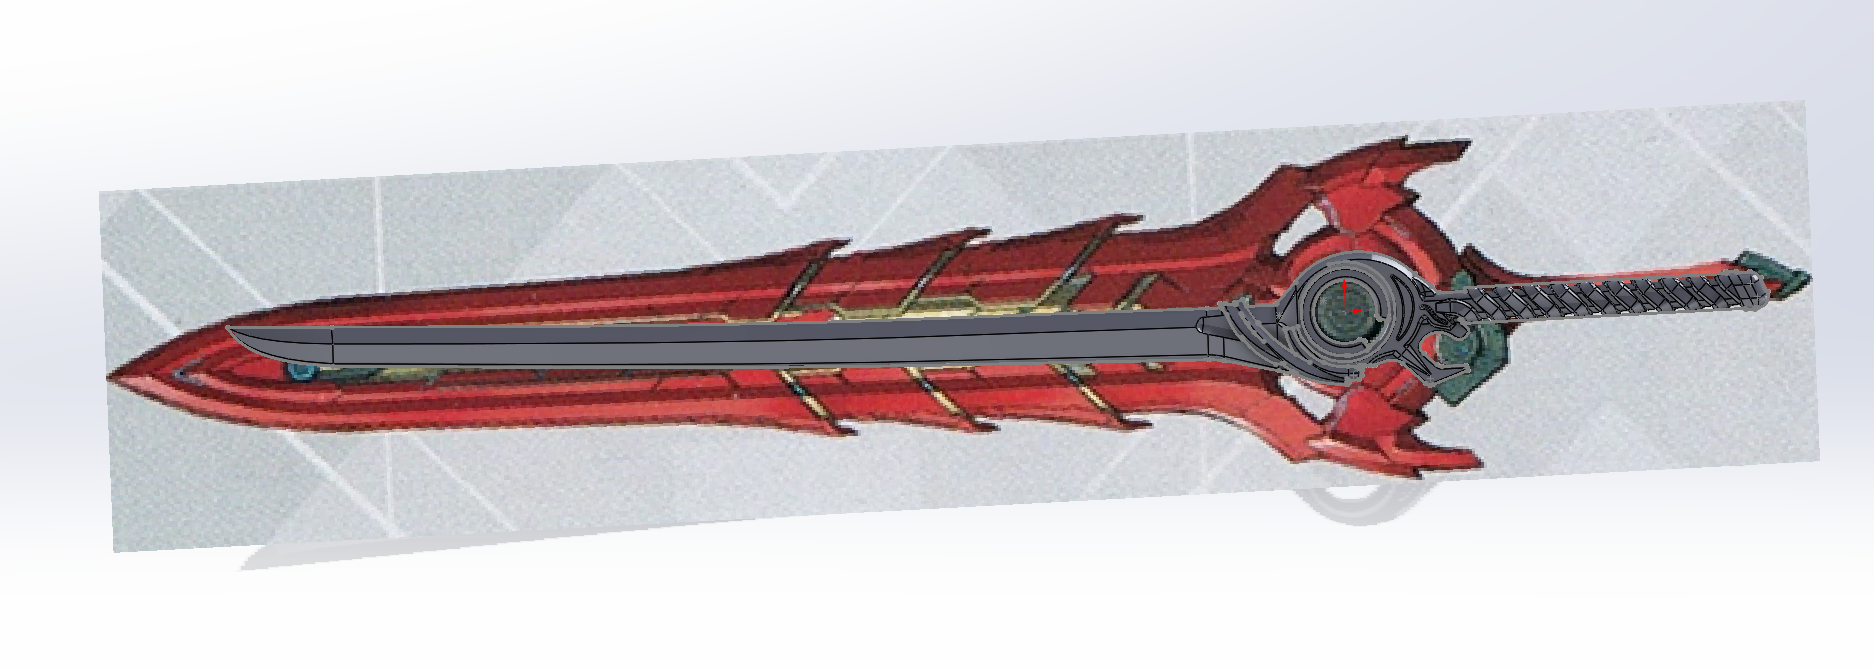
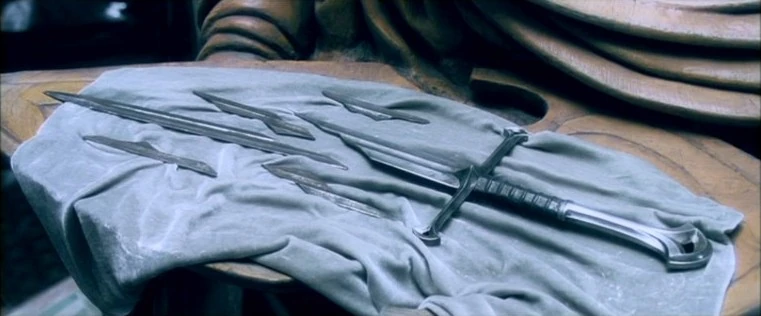
My wife wanted to cosplay as this videogame character who has an iconic sword, and she asked me to make it as a prop for her.

This was a little daunting given the geometry and size, not to mention the actual implications for construction, but I felt it was a good opportunity to challenge my ‘making’ skills.
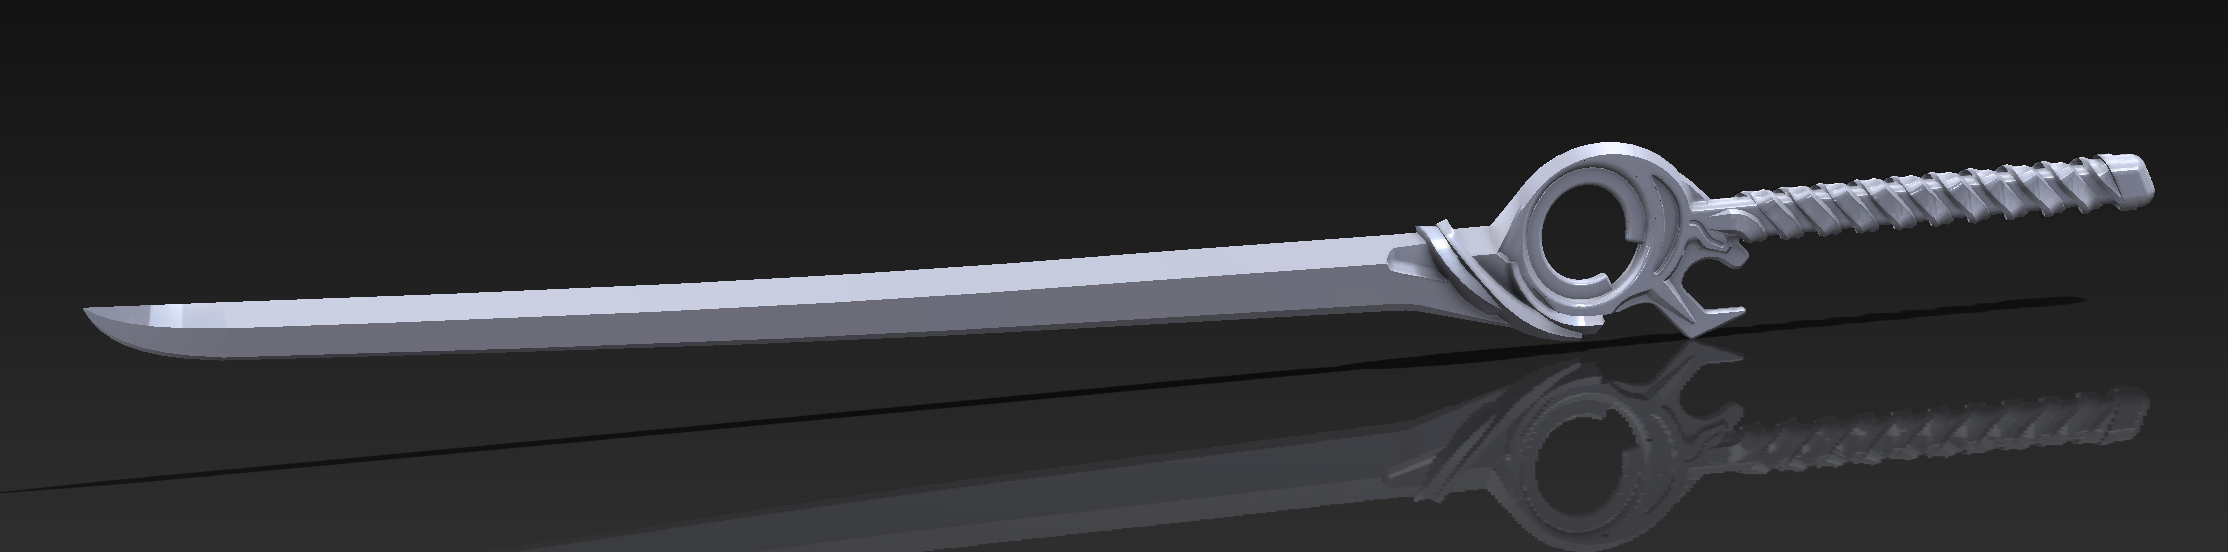
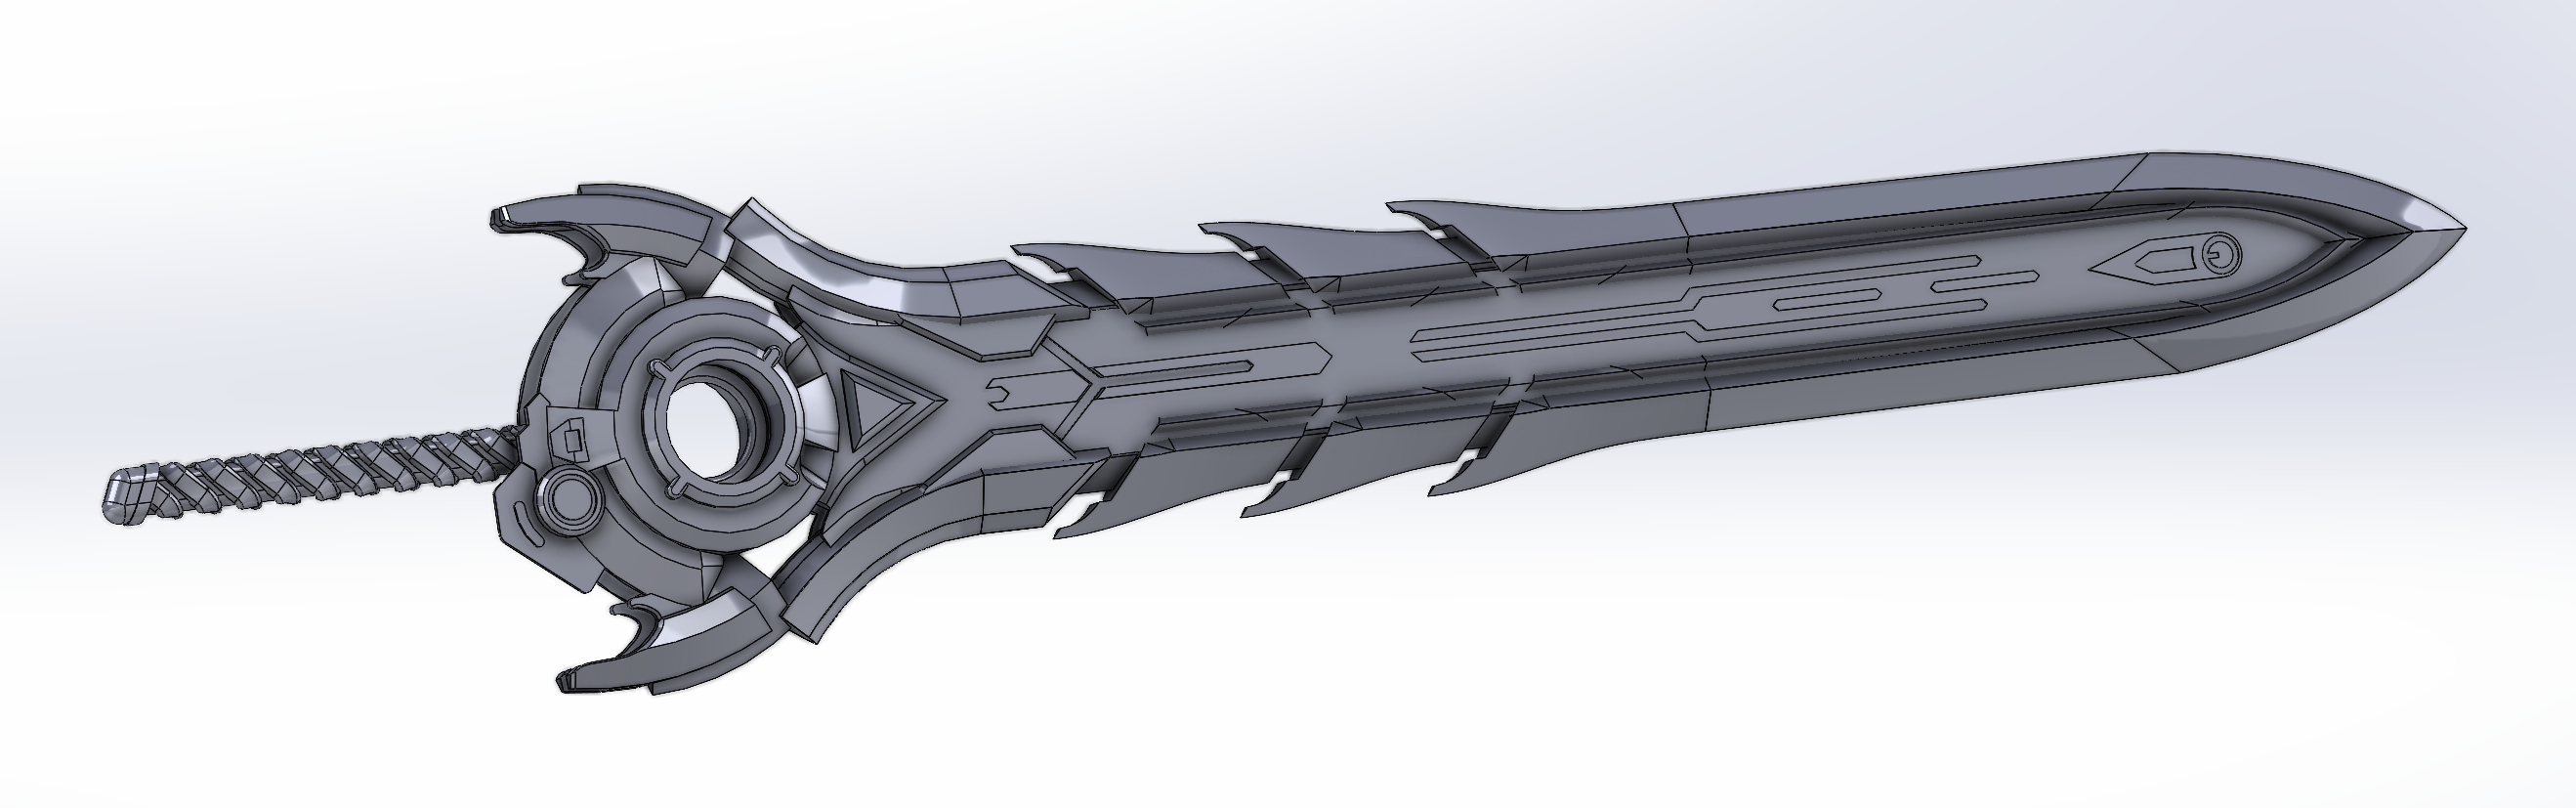
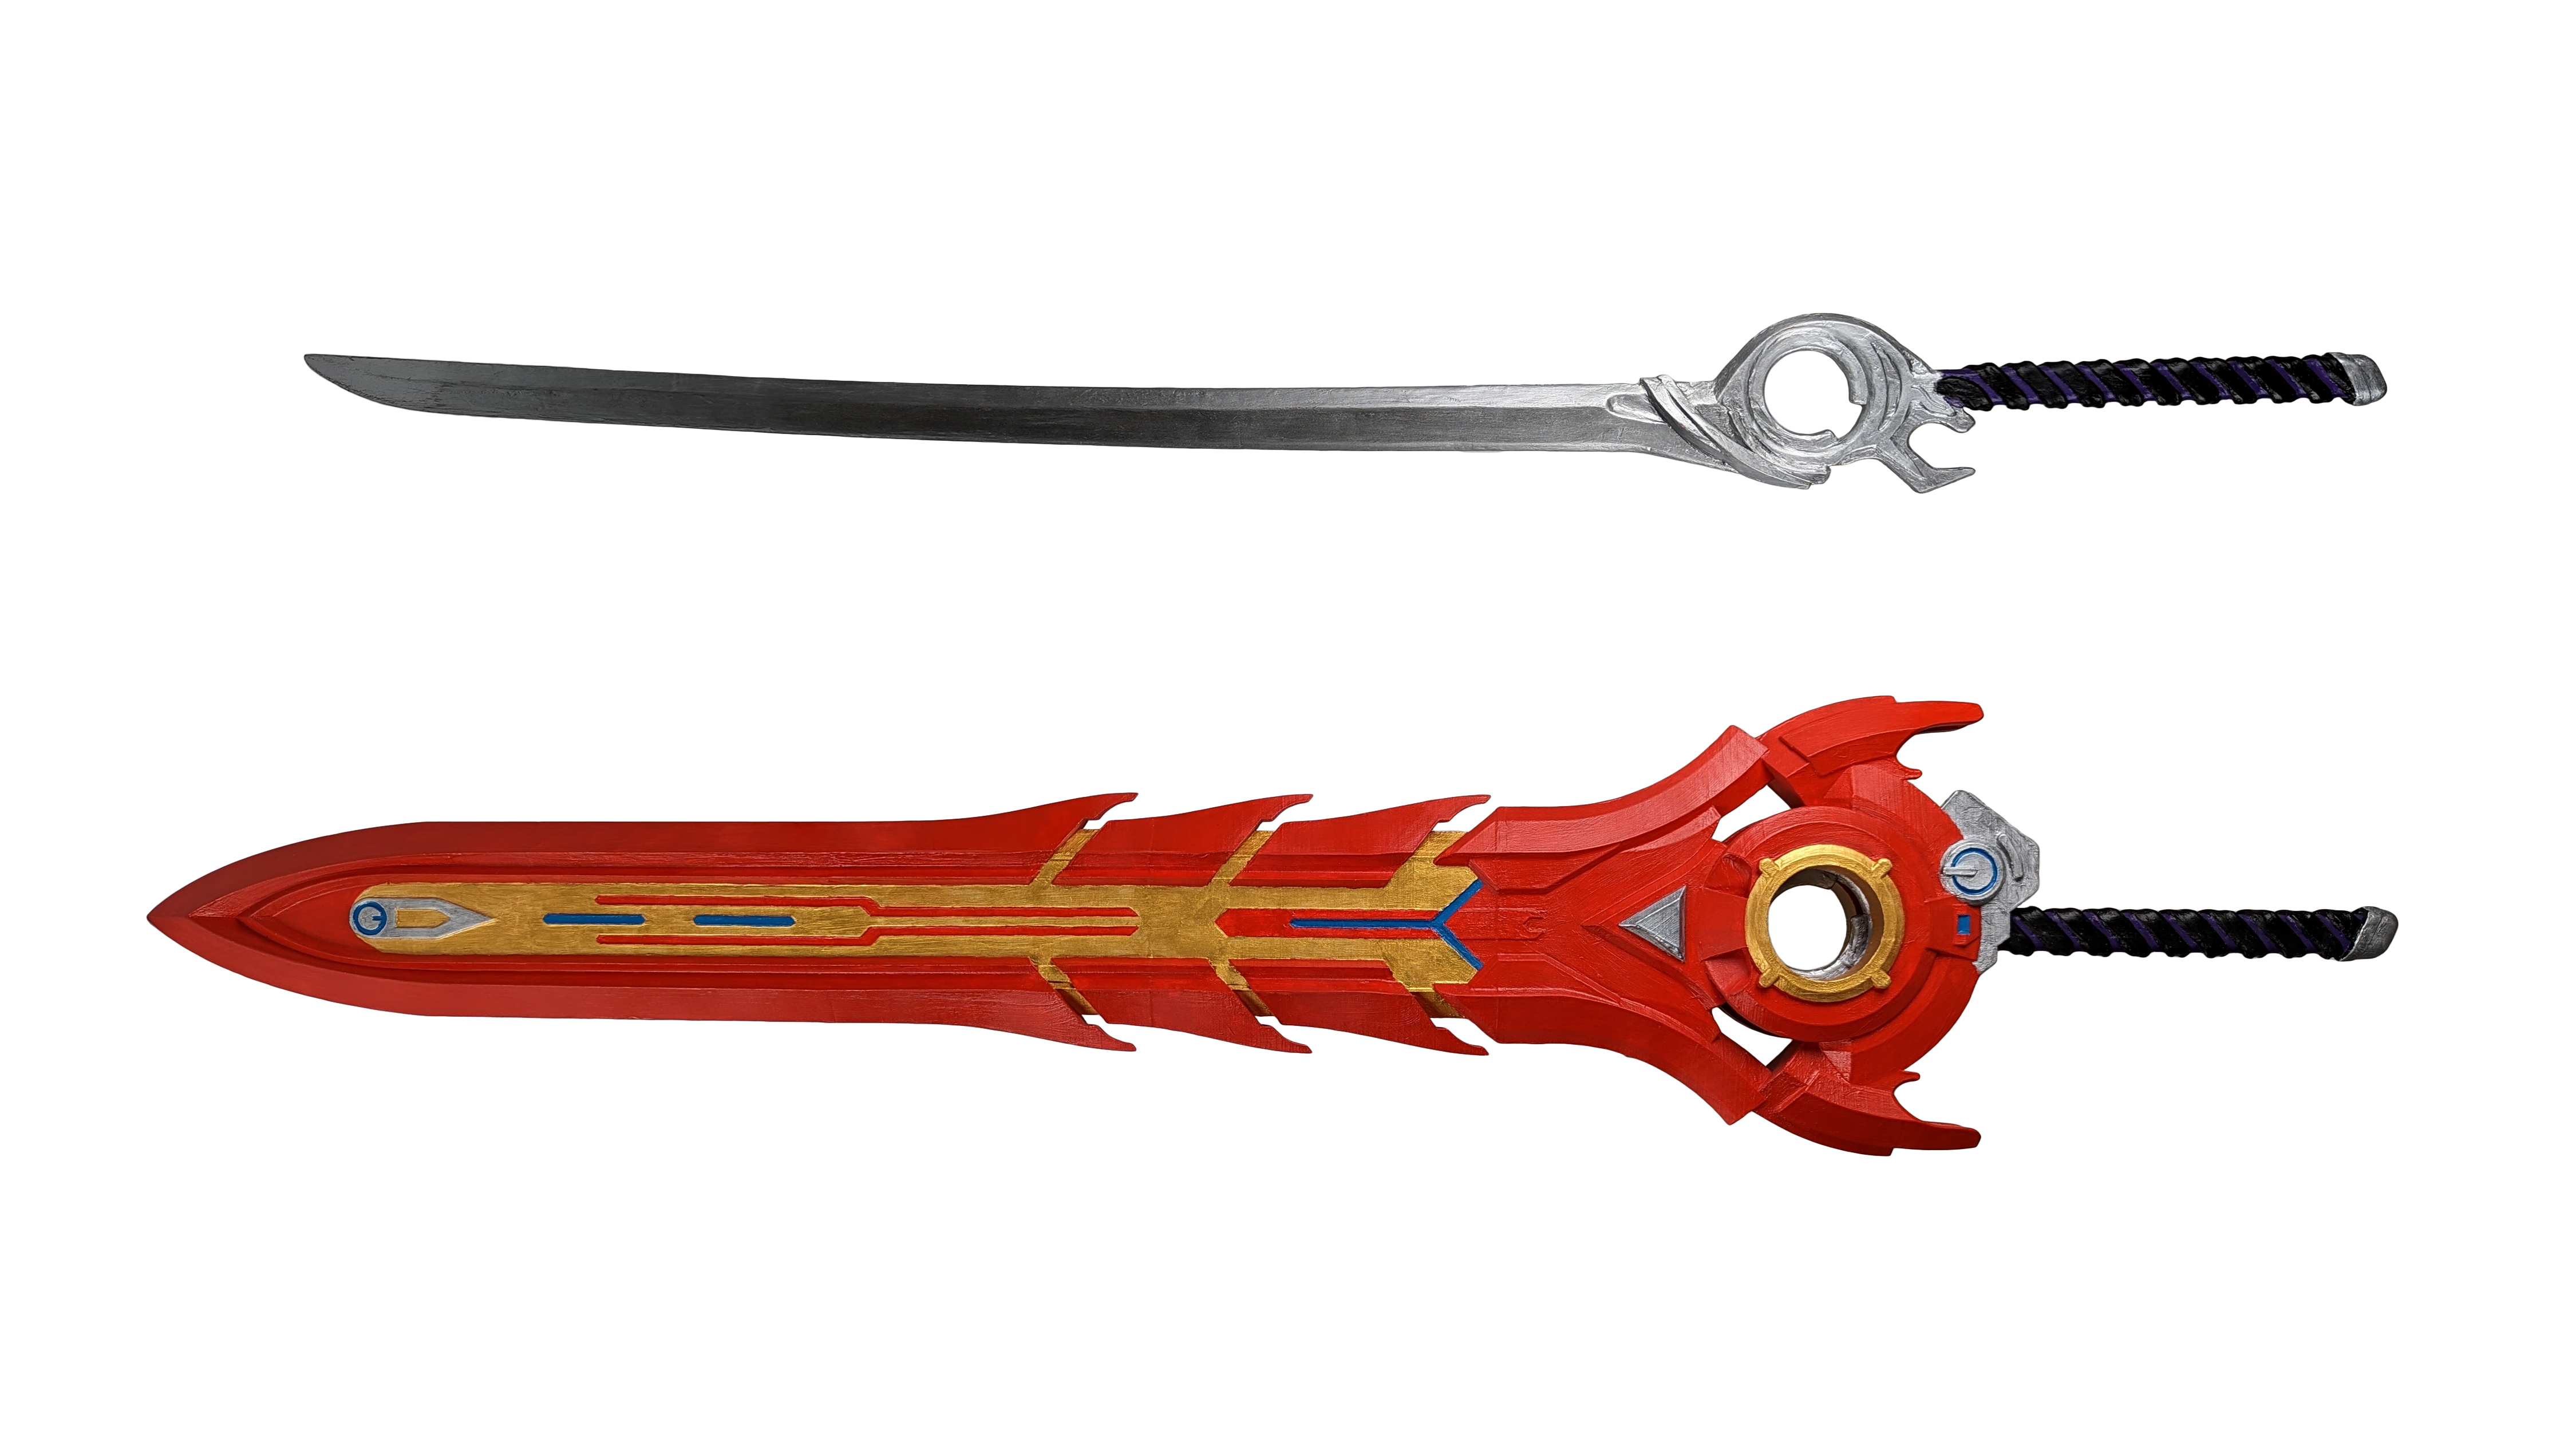
The sword has two parts. The actual sword, and the sheath which also looks like a sword. I used SolidWorks for modeling, and Adobe Illustrator for prepwork, concepting, and planning the execution of the build.
Sweep and Loft features were heavily utilized.

After getting the sword model mostly done it came time to really think hard about how to create it. After all, the sword alone was going to be over four feet long.
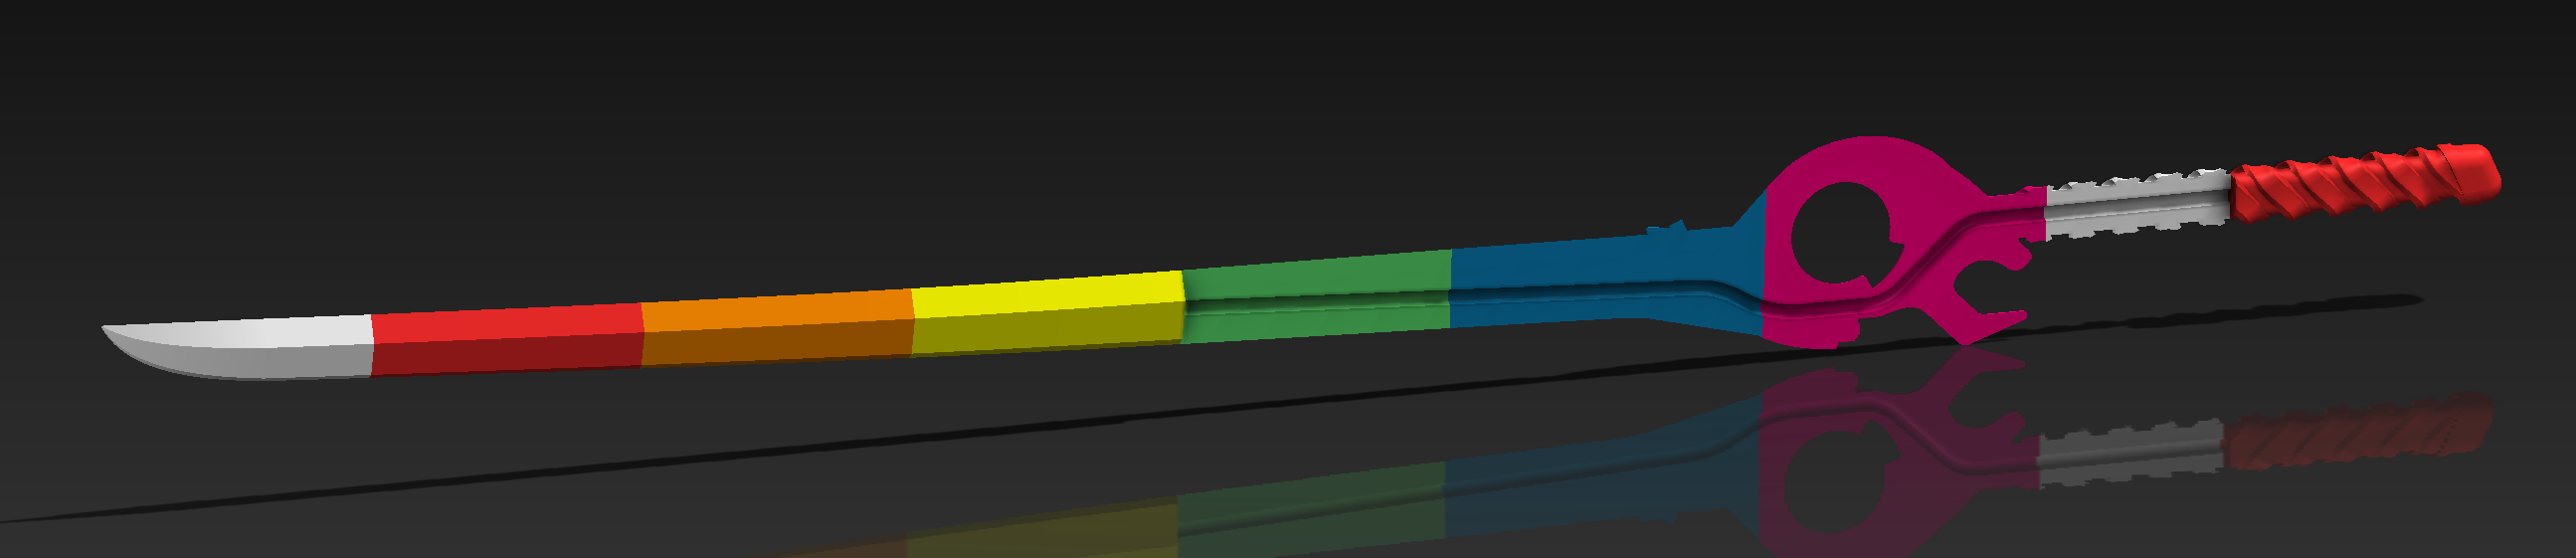
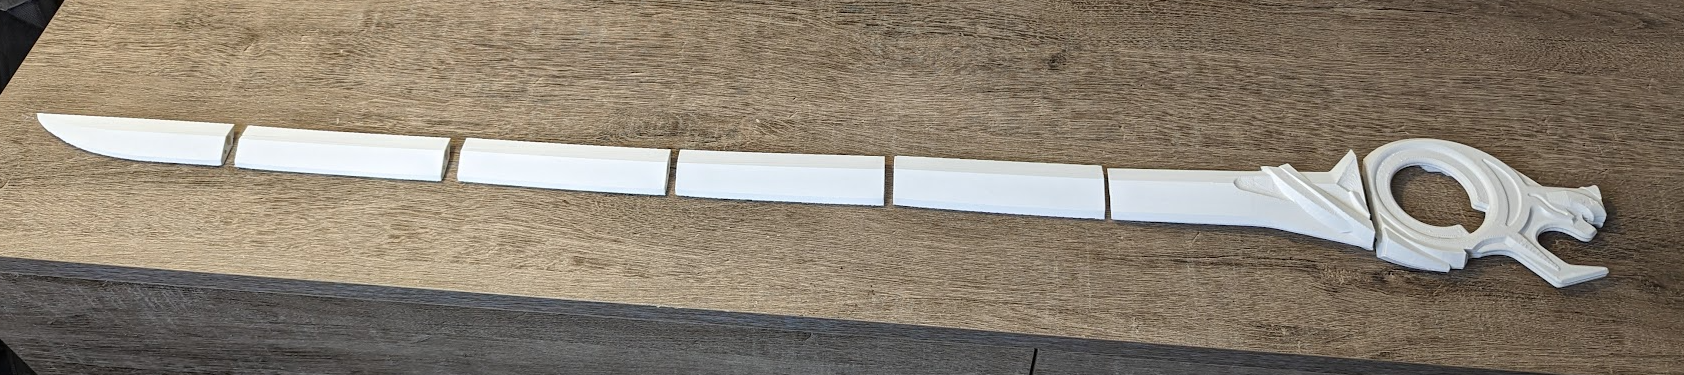
My idea at the time was to split the sword into sections, and then embed a 1/4″ aluminum or steel rod, using alignment pins and epoxy to bond it all together. Given it had to be printed in pieces, I was very afraid of the possibility of it breaking at any point, so I wanted it to be as strong as possible. Creating it from one solid piece of wood for example would have some advantages (ignoring the implications of routing, carving, and whittling) but even then, I believed I could make a more durable version using plastic and metal.
The sheath came next. This was a complex part to model, and had the additional complication of needing to accommodate the sword *just right*. By looking at some ripped game files I found that physically, these items do not fit. The sword nearly intersects with the end of the sheath, but in the game, that’s not an issue. In real life? A great complication.
Adjustments were made to the scaling and geometry of the scabbard to accommodate this.
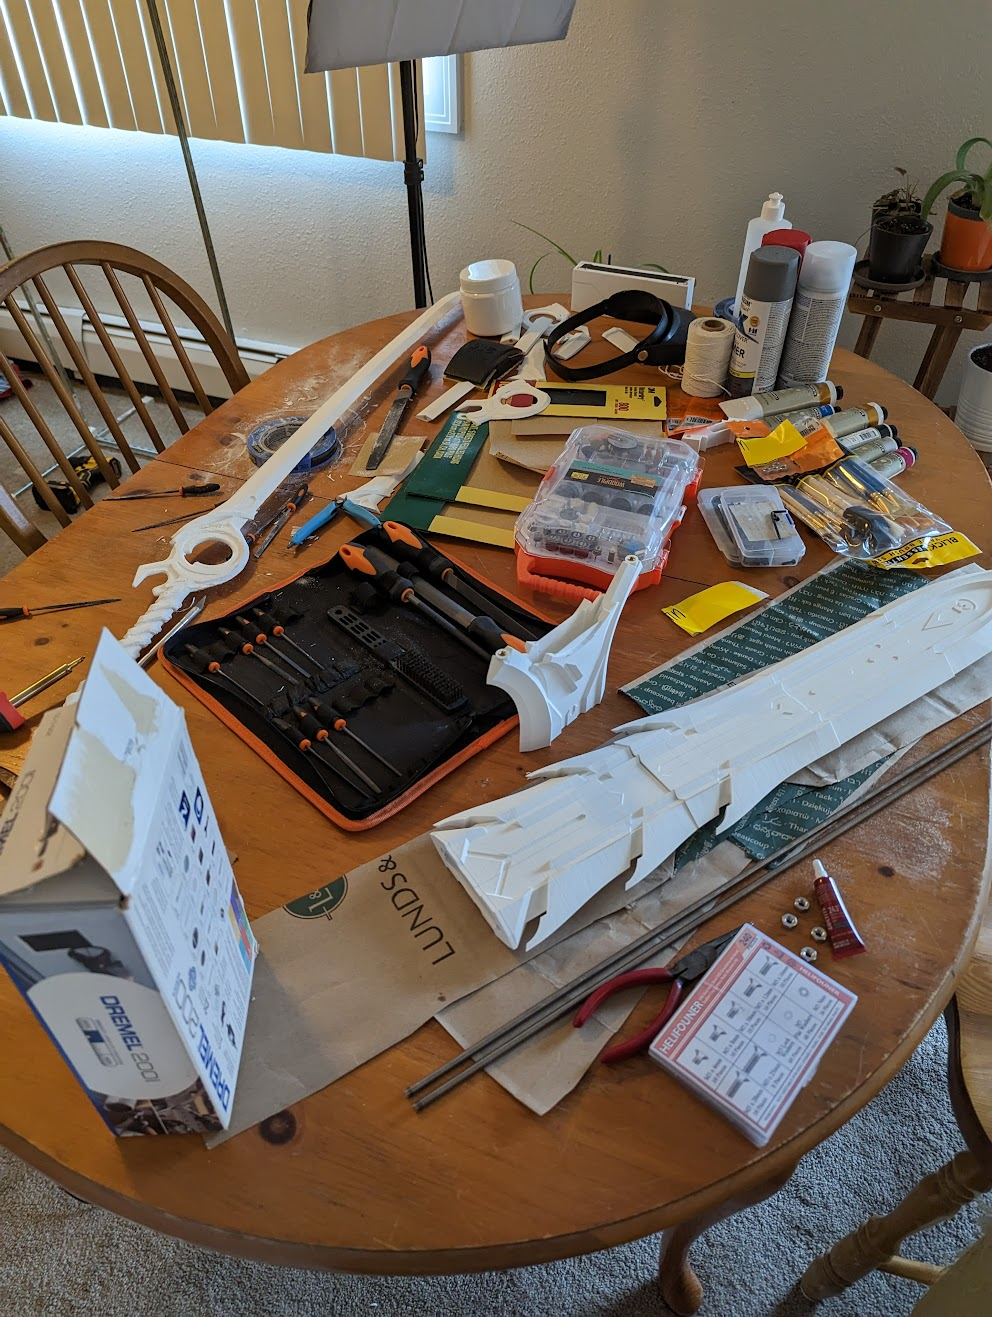
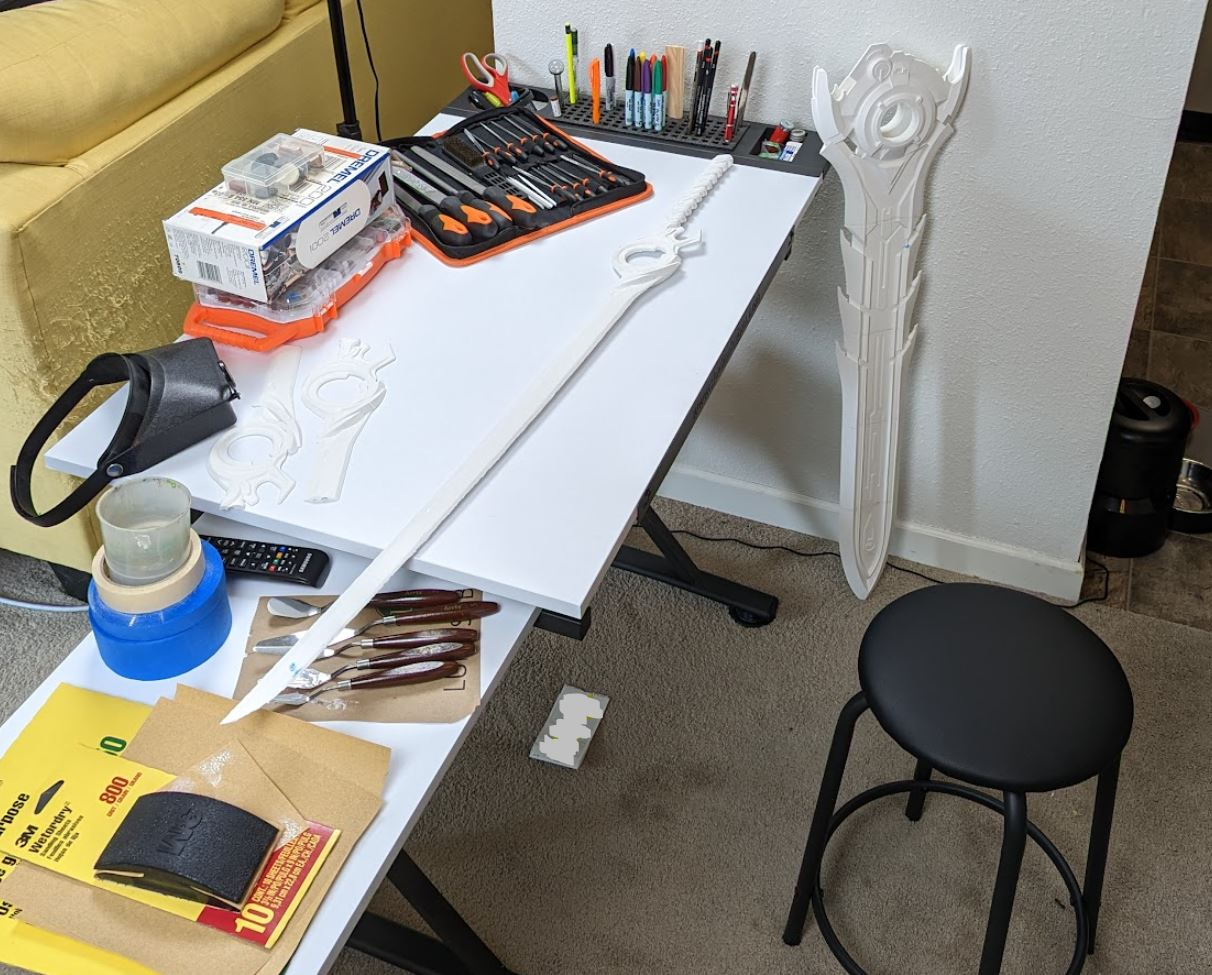
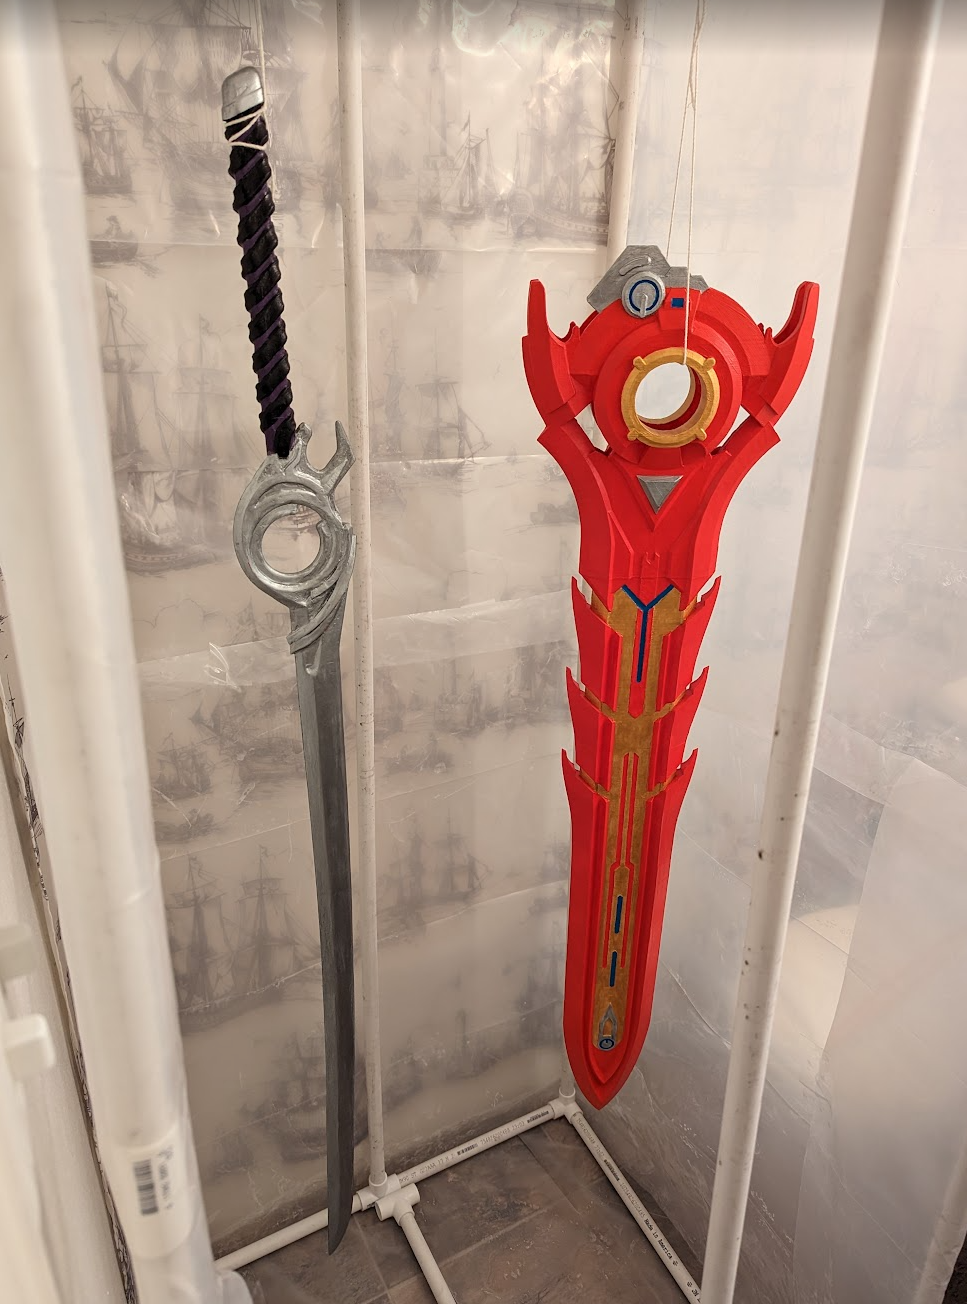
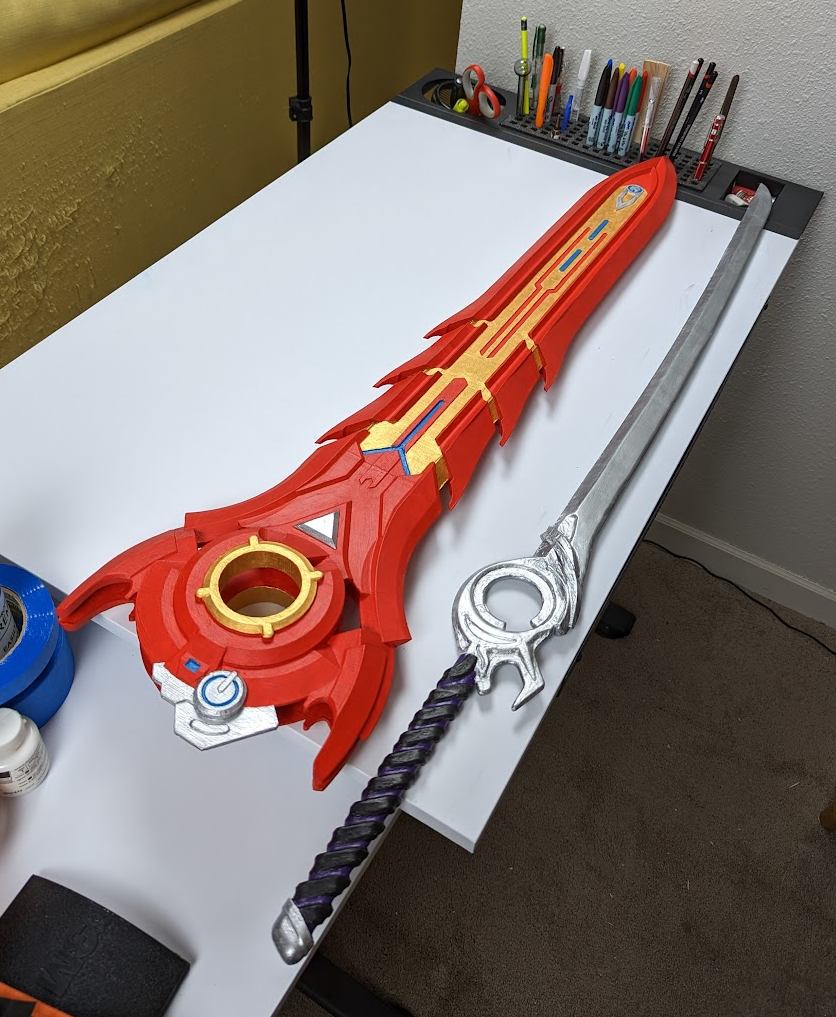
As I began to actually construct the parts, it looked like this:
But felt like this:
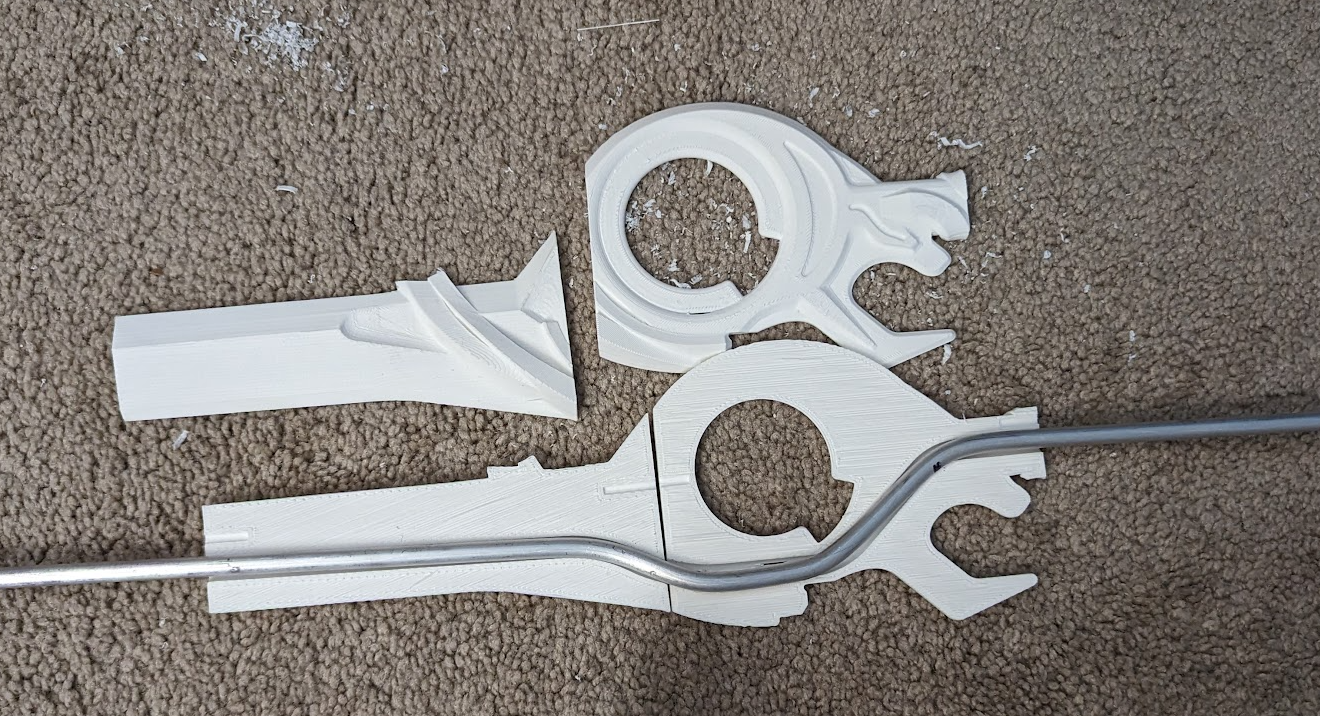
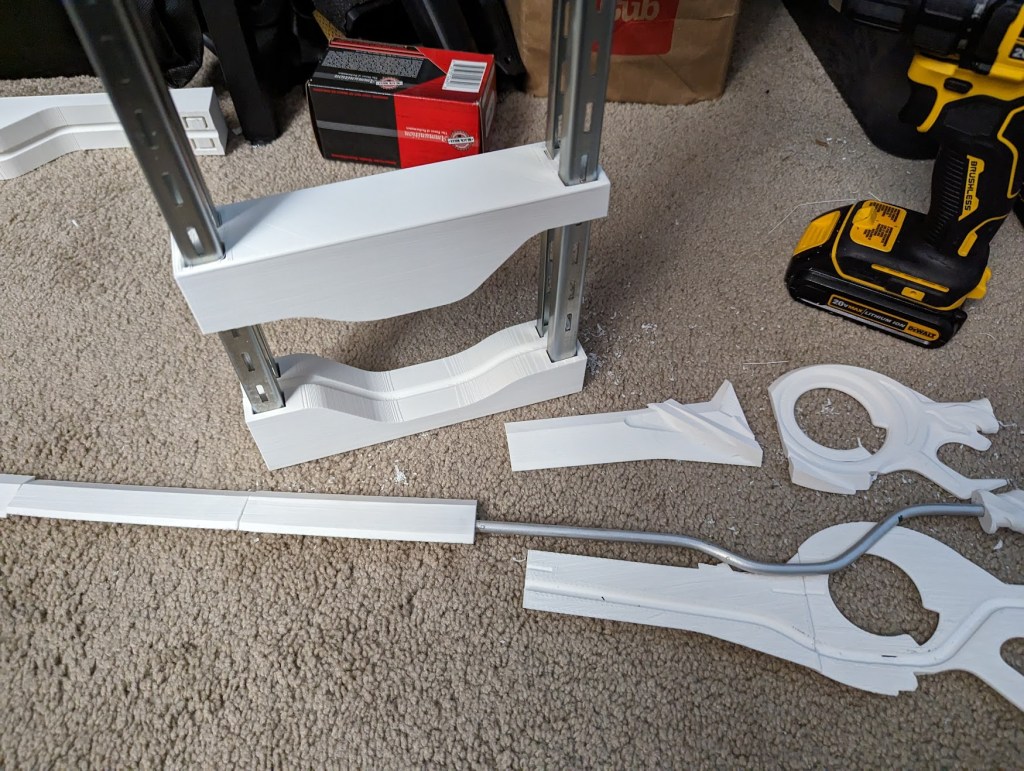
Bending the core rod was difficult, and I eventually made a custom bending jig to get the geometry juuuuust right.
Below is how it turned out when I attempted bending by hand. You can see it didn’t fit quite right.
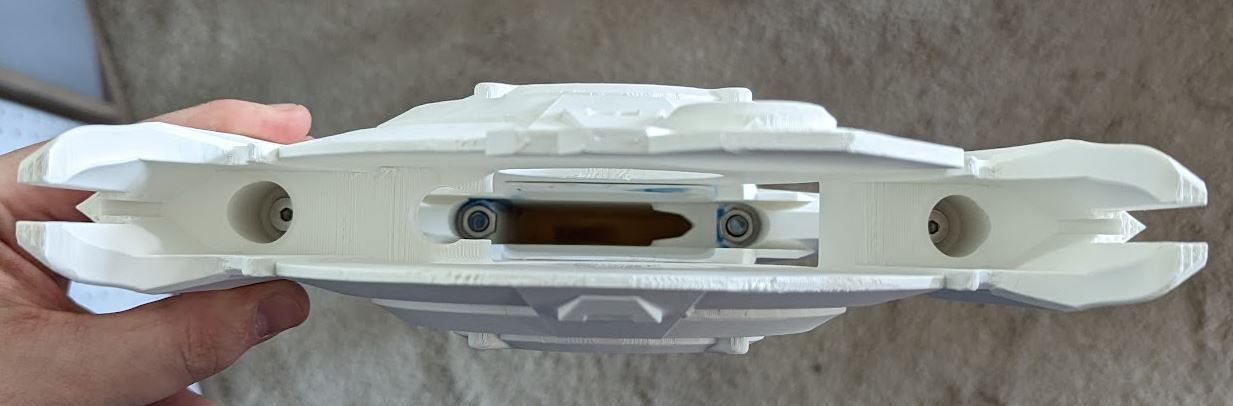
For added strength along the blade and to ensure perfect alignment between sections, I embedded steel rods.

As I went through this I was constantly thinking about the balance between accuracy and practicality. Even in the game, the assembly itself is almost as tall as the character wielding it. So if I wanted it to be accurate and impressive, a true scale would be great. But how would my wife wield it for photos, let alone carry it? A balance was struck by slightly scaling it down, but even then it caused some worry for me.
Thus, the scope of this project grew and the next step had to be the harness/holster. I whipped up some ideas on how this could actually be worn for a full day, and tried to create something that would be not only practical, but fit the aesthetic of the character from the game.
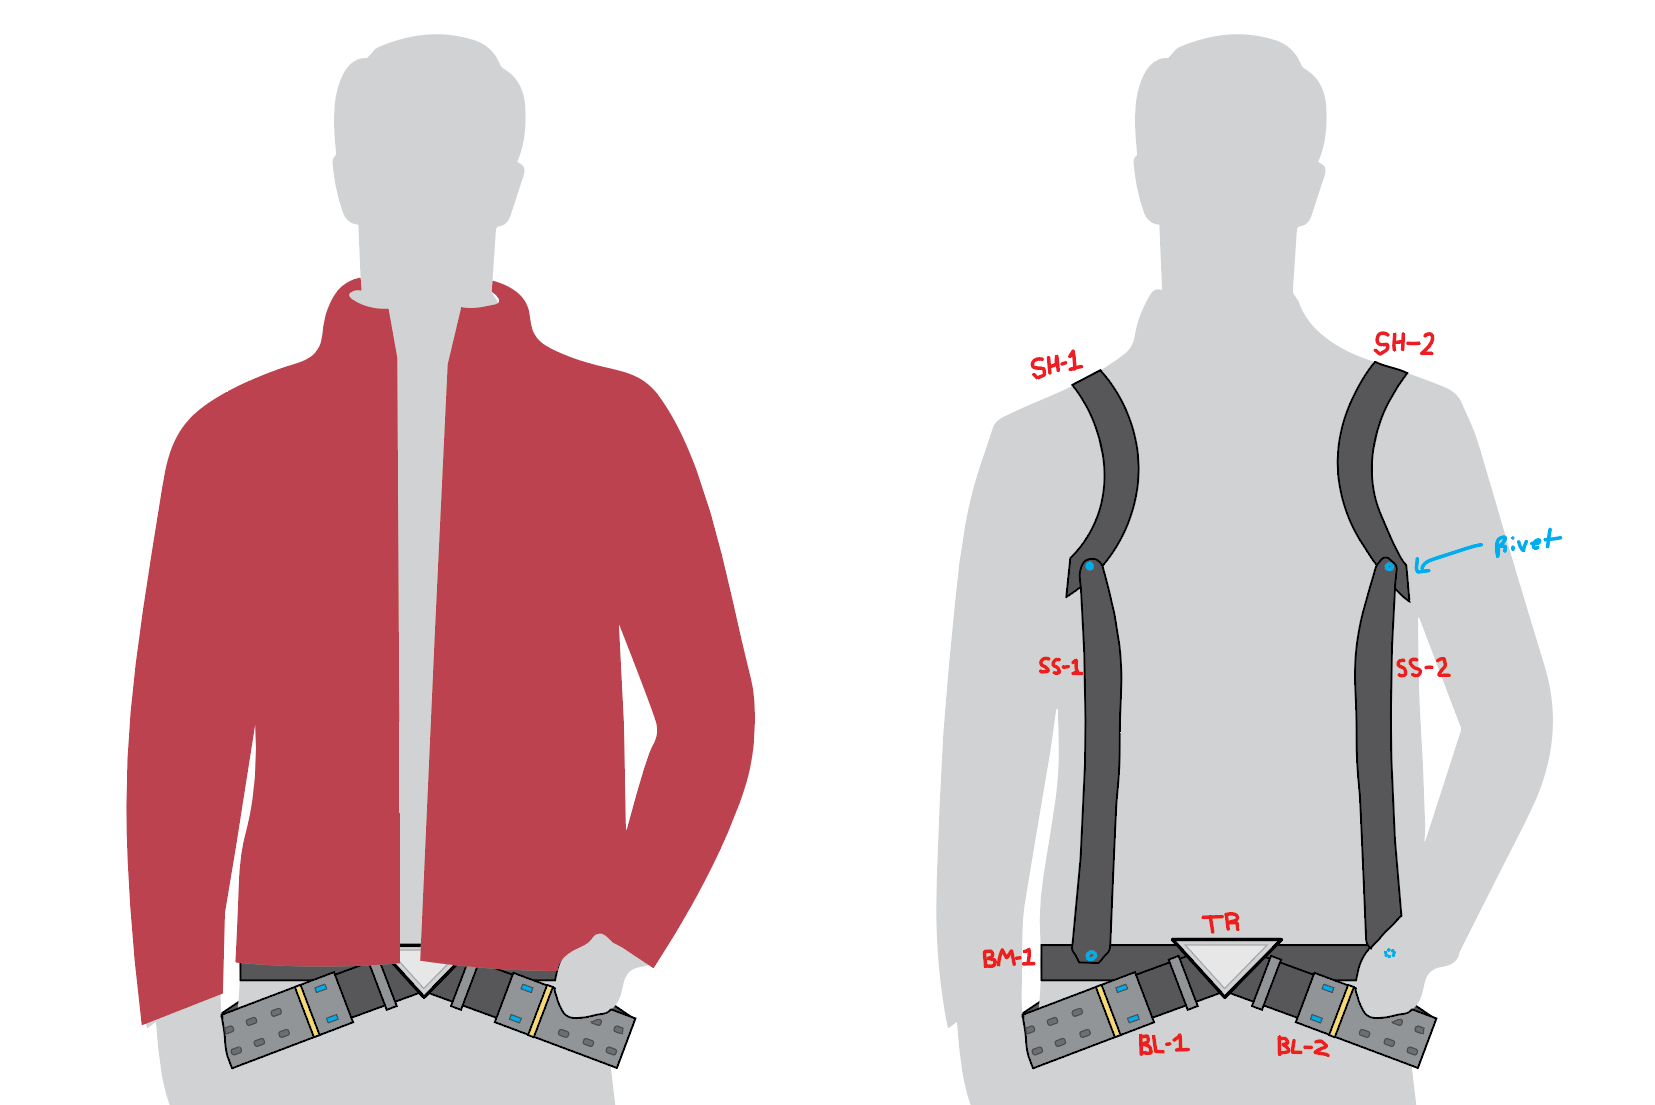

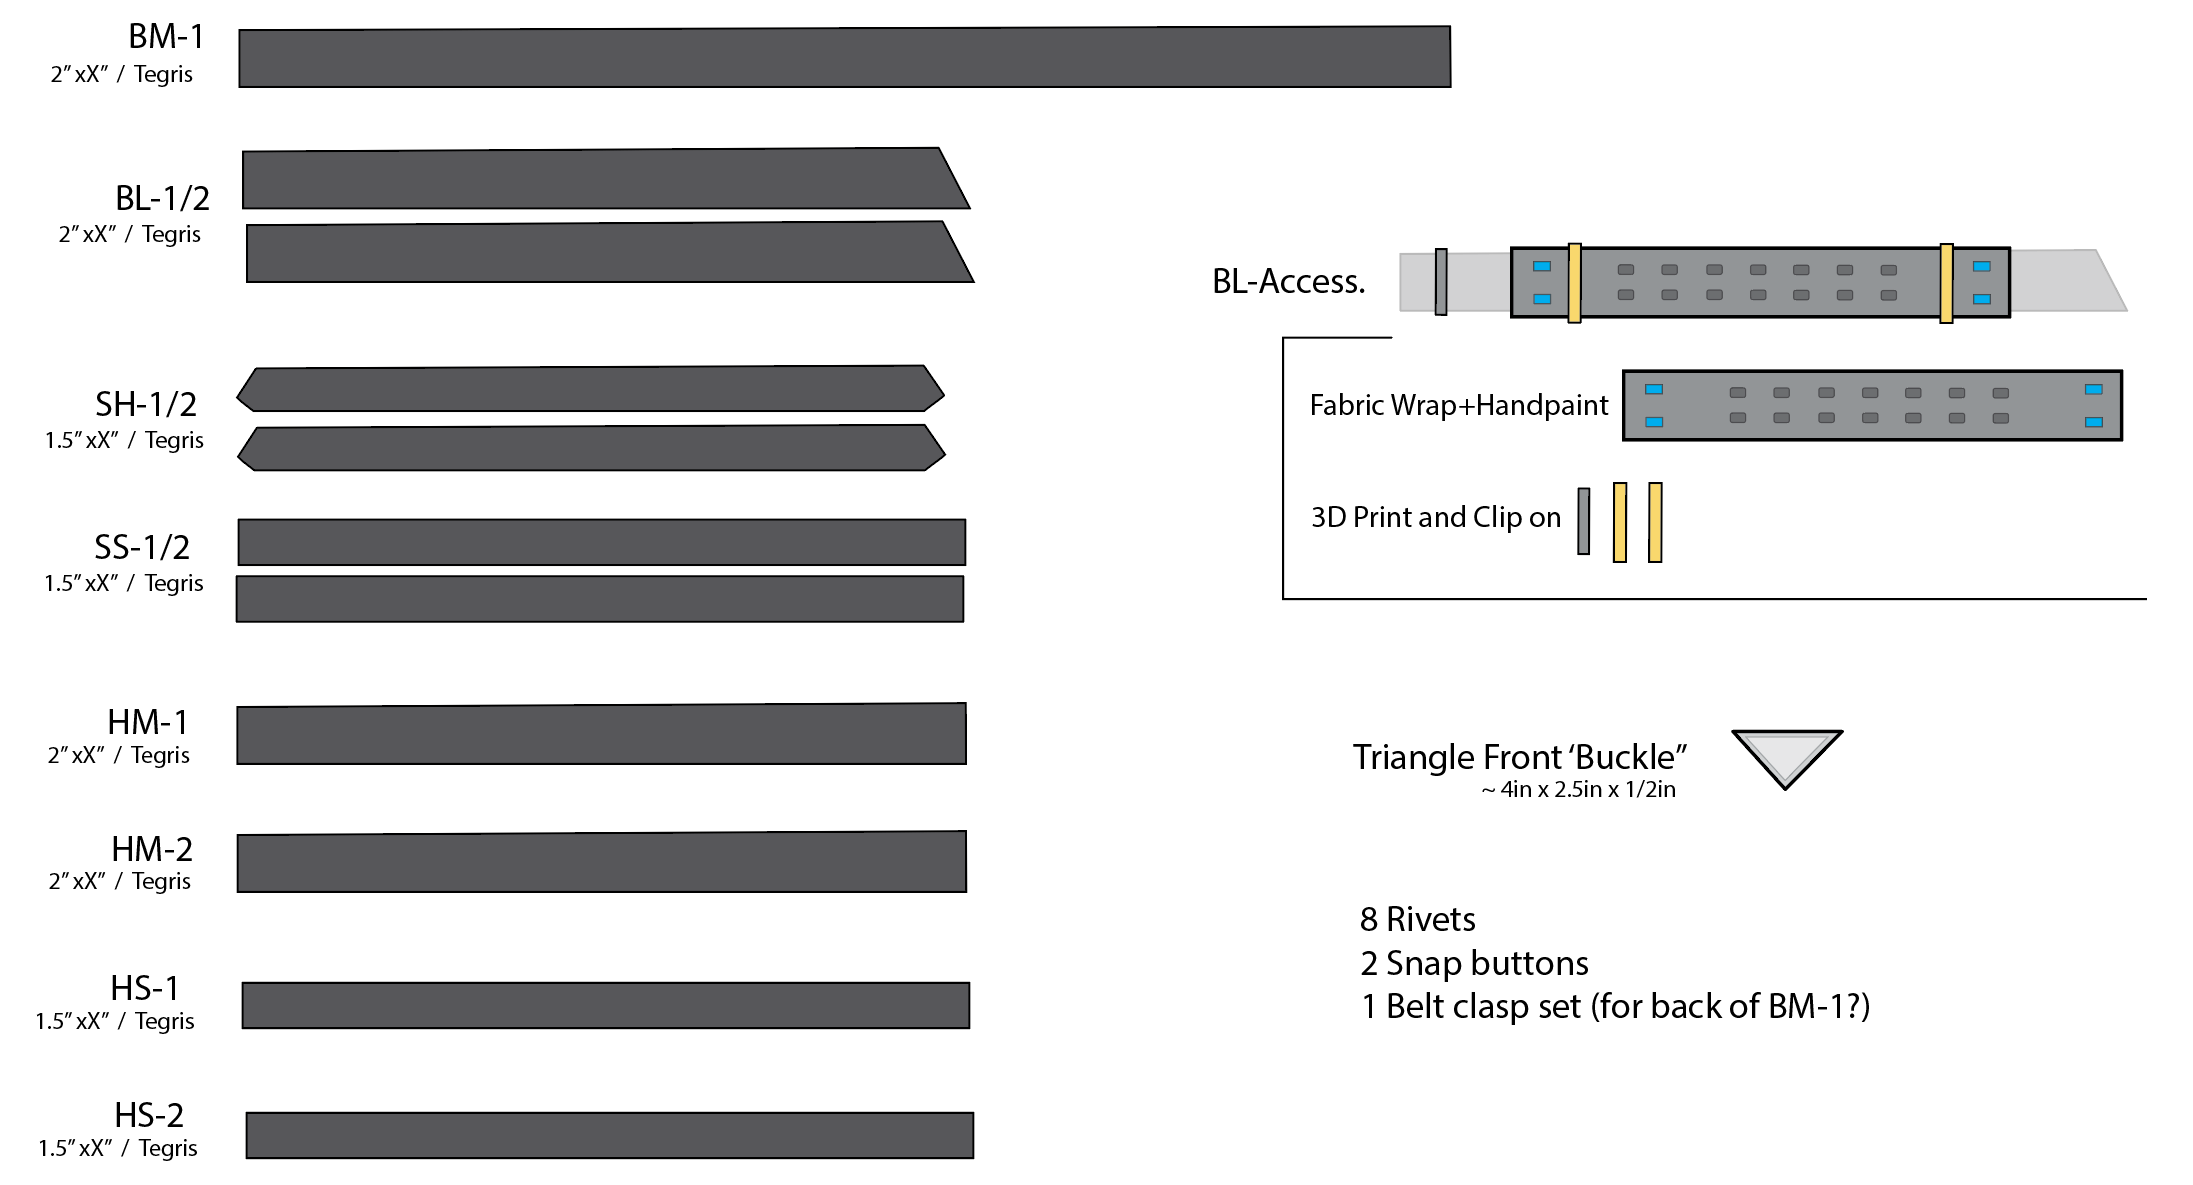
I chose to use Tegris as the main harness material. This is a composite fabric commonly used for gunbelts and has good flexibility in one direction (wrapping around the torso), but remains rigid to downwards force (the weight of the sword). Given that this would be bearing a lot of weight on the hips, I added some thick fabric wraps on the contact areas.
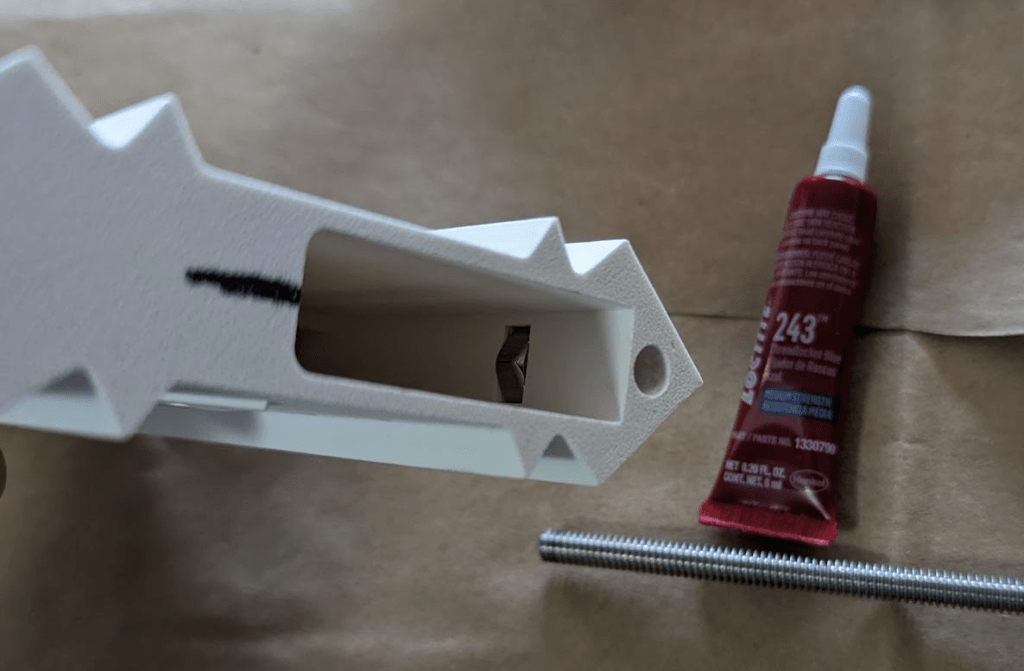
Turning back to the scabbard, construction began. I decided to use long threaded rods with embedded nuts in the scabbard to give tension between the pieces, pulling them all together.
Heat-set inserts were also used.


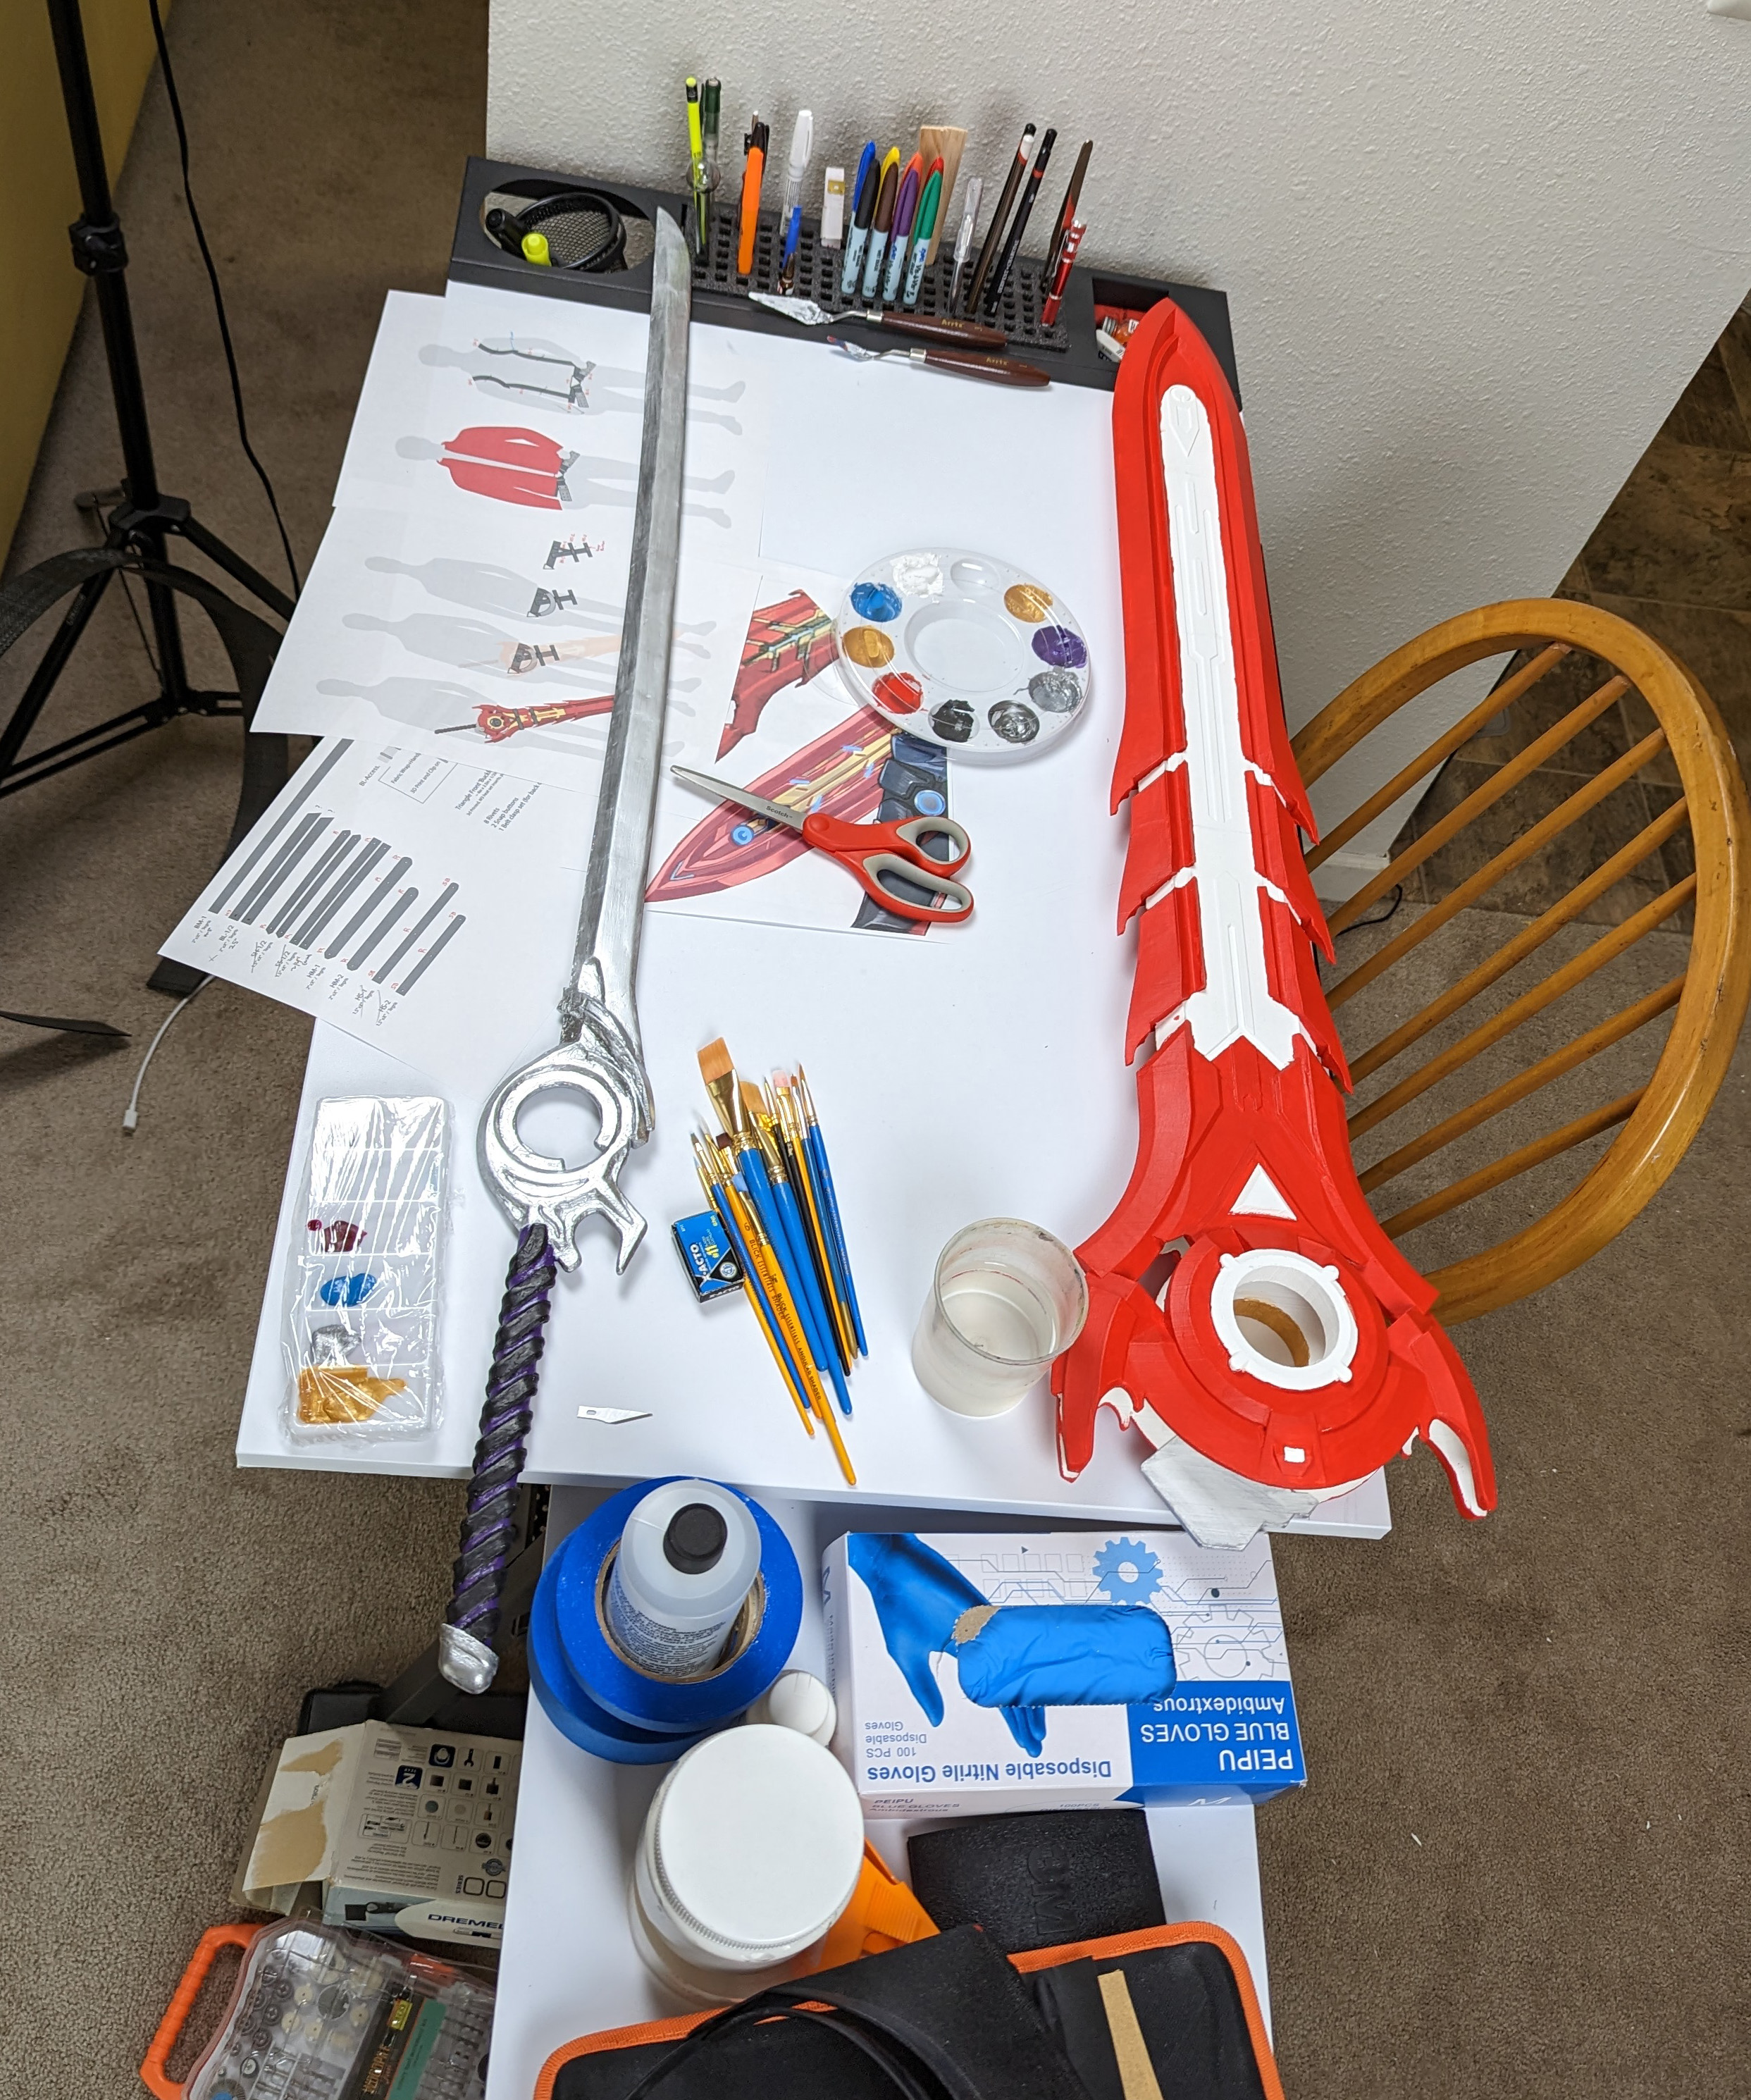
For painting, I began by using a modeling putty to smooth print lines and fill any seams. I then sanded and reapplied putty repeatedly until I was satisfied with the surface texture. A sword should be smooth after all.
The painting was partially done by my wife, as I was getting worn down by the labor involved in this project. We didn’t feel spraypainting was appropriate, so we painted by hand.
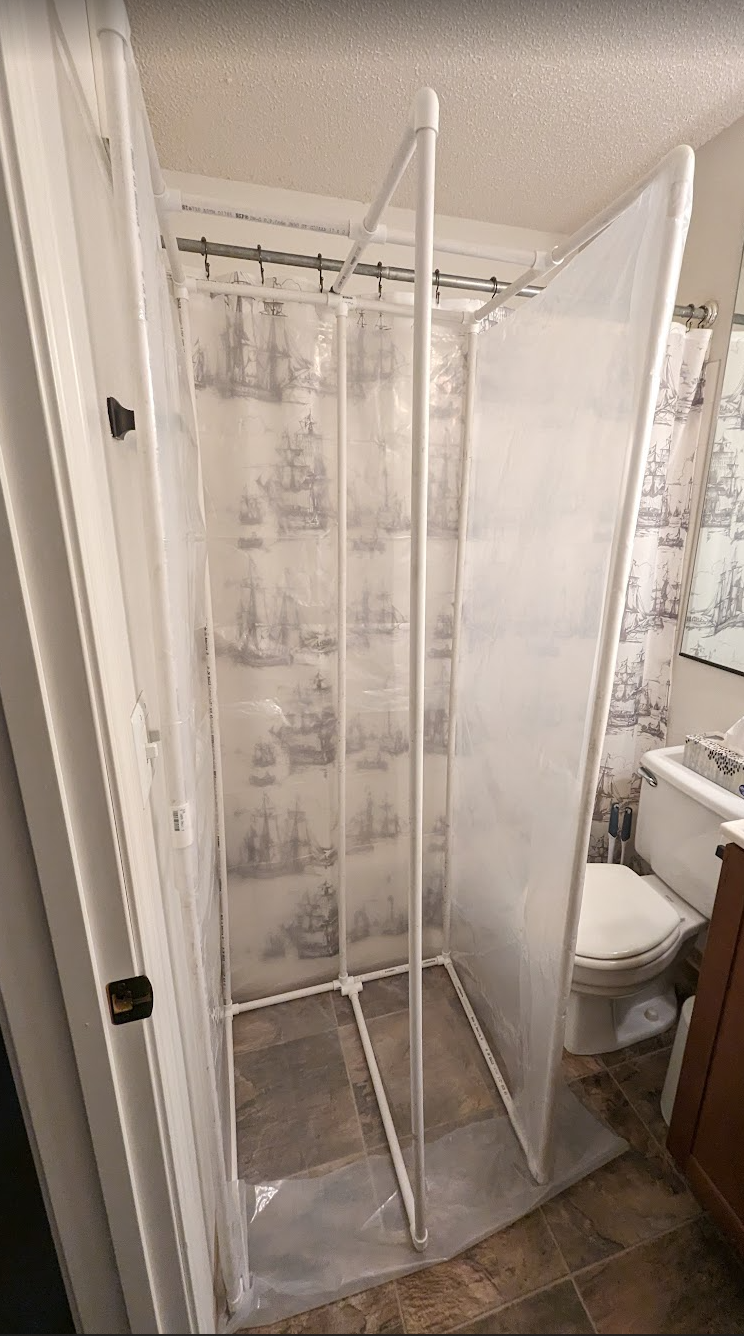
To finish, I whipped up a spray booth as affordably as possible in our spare bathroom and applied a clearcoat spray, to give the blade an appropriate shine and protect against any scuffs and dings.
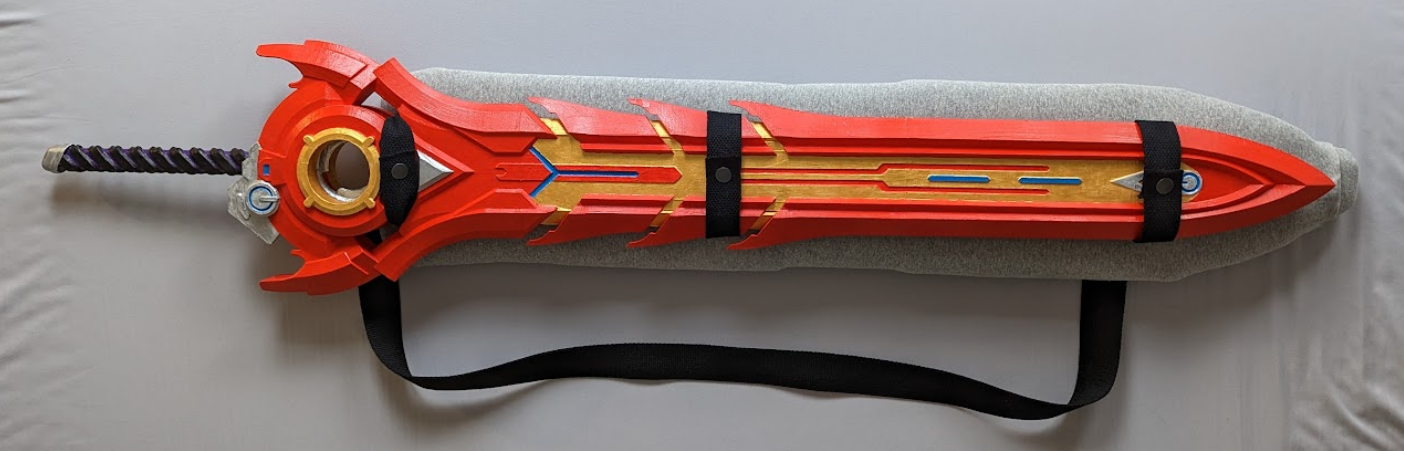
With that, the prop was finally finished two months later after many revisions, failed experiments, and hard work. This thing was accurate, beautifully made, and strong. You couldn’t break it if you tried. The sword slotted into the scabbard with a satisfying click, perfectly retained, and the sword itself was still light enough to swing around with ease.
But as we approached the day of the convention, issues started to arise with the harness. It was found to still be uncomfortable despite the padding, and having all that weight strapped to one side became increasingly unappealing. With only one day until the convention, I scrambled to find a solution that was effective and expedient.
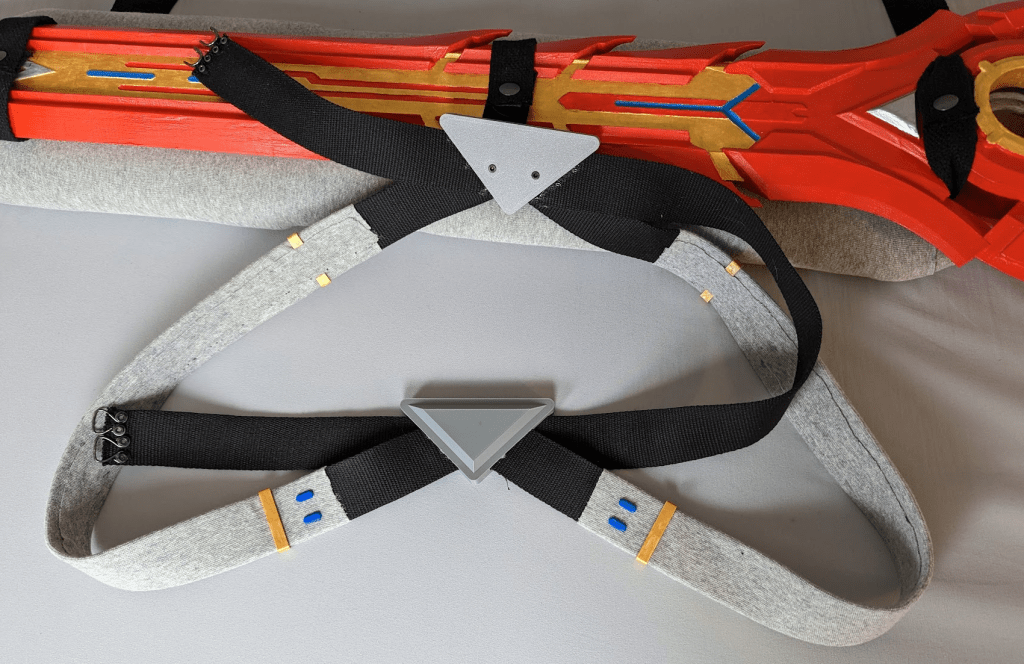
While the most accurate execution was the prop being strapped to the hip, having it slung over the back would be much more comfortable and also reduce the chance of the sword hitting things and people as she was walking around. With that as my goal, and the clock counting down, I devised a back-strap solution that would not only fix the blade in place but also be comfortable for long term wear.
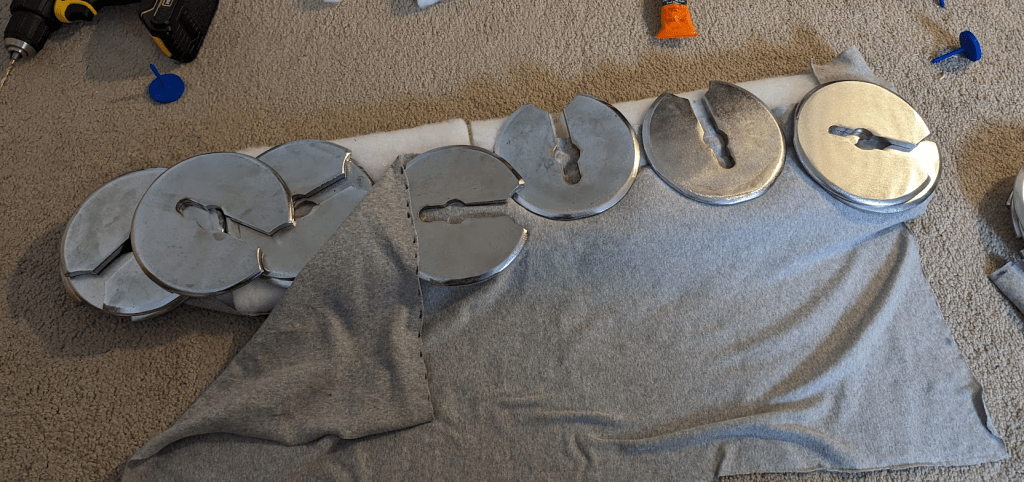
Even this was not a simple endeavor however. I cut a wood board to shape, and wrapped it with foam to make it comfortable to wear and also protect the prop.
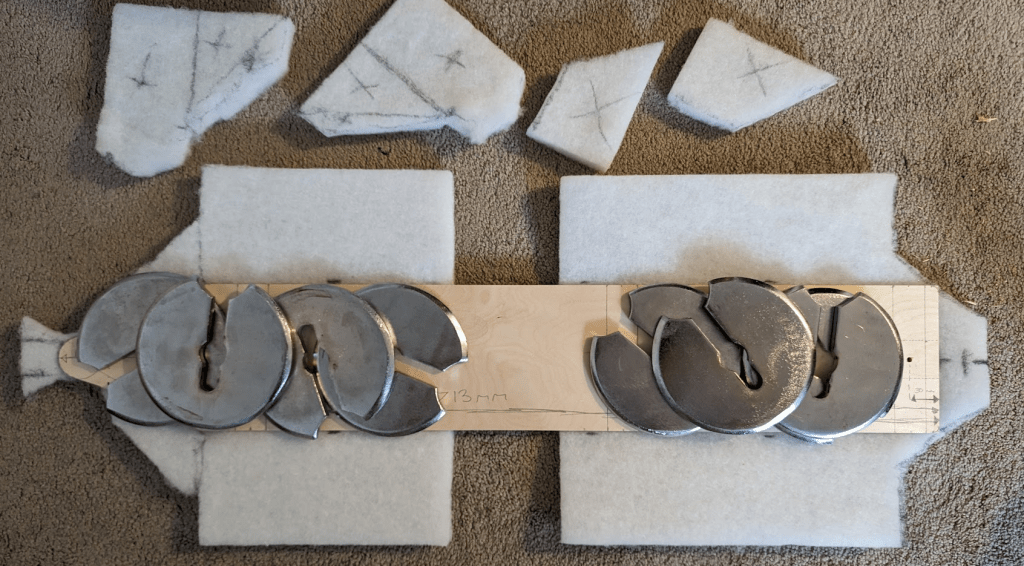
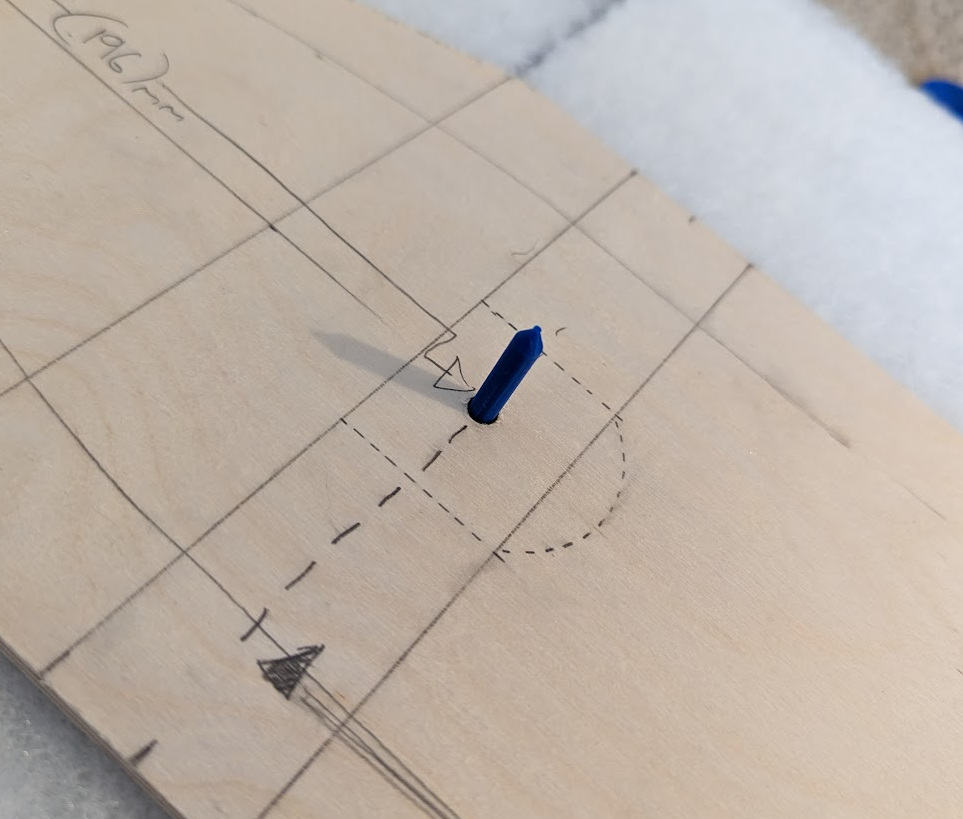
I used printed pins to hold the foam taut while the glue set, and wrapped the whole thing in a light grey fabric, which made the whole thing stand out less and let the prop shine.
Nylon webbing was cut and fasteners added to allow her to quickly remove the sword from the back-holster.
Goodbye, belt V2.2. You weren’t that good anyways, as evidenced by the fact that I had to do multiple versions of you in the first place.
And with all that, it was done, just in time for the convention.
As I was also doing several other projects at the same time, this was a very stressed build.
I am exceptionally proud with the end-result however, and felt I gained a lot of experience in prop-making.
Thanks for reading.
Leave a Reply